Introduction to Sitecore Discover for Developers Part I: Integration Methods, Authentication, Tracking, and Events
In this article, the first installment of a series, I aim to share my findings after getting my hands on the Sitecore Discover product, which is part of the Commerce Cloud. My primary objective is to offer technical insights and provide practical examples to assist developers in getting started with this SaaS product, as well as demonstrating seamless integration with other platforms.

Note: these series are specifically tailored for developers, emphasizing the implementation aspects rather than providing a comprehensive SaaS product overview, which I intend to cover in an upcoming piece.
About Sitecore Discover
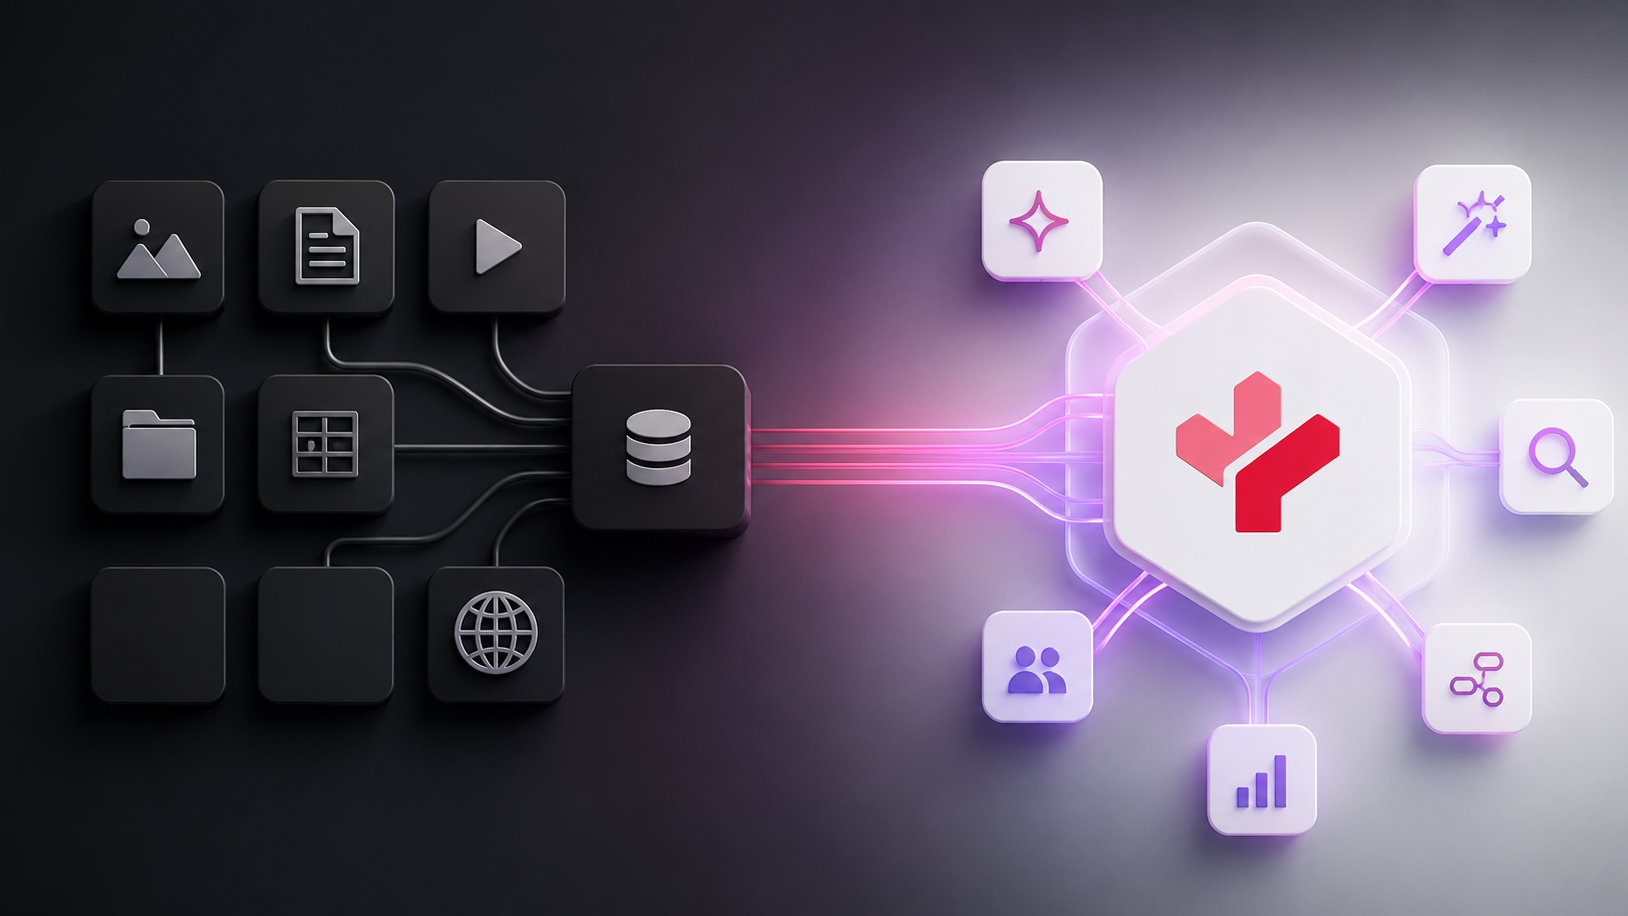
Sitecore Discover is an AI-powered platform that enables the integration of merchandiser-controlled experiences into websites and other online touchpoints. When integrating Discover experiences, three main areas need consideration: product information, visitor information, and search & recommendation experiences.
- Product information: It is necessary to preload and maintain product data within Discover, mapping the predefined product attributes to your own data attributes. Regular automated product data feeds ensure data synchronization, with the option to use the Incremental Feed API for real-time updates.
- Visitor information: Including anonymous identification and tracking, is crucial for Discover's functionalities such as personalization, targeting, data generation, and analytics.
- Search & recommendation experiences: entails connecting with Discover to present relevant products to specific audiences at the right time. It is recommended to integrate personalization experiences across various touchpoints, including search functionality, merchandising displays, and product listings. This ensures consistency and connectivity between visitor and product profiles.
Widgets and funnel events streamed into the Discover platform, provide intelligence for computing visitor affinities and personalizing e-commerce channels. Discover Events also enable access to default analytic reports, providing merchandising performance insights for business users.
By effectively integrating Sitecore Discover, businesses can leverage AI-powered personalization, streamline customer experiences, and gain valuable insights for enhancing merchandising strategies.
Discover Architecture

The Customer Engagement Console (CEC)
The Customer Engagement Console is a Software-as-a-Service (SaaS) workbench designed for merchandising teams and developers. It serves as a versatile tool for both business users and developers.
For merchandisers or business users, the CEC provides a range of functionalities. They can create rules, design new product discovery experiences, conduct A/B tests, perform analytics, and access various other features that enhance their ability to optimize customer engagement and drive business results.
Developers can also benefit from the CEC as it offers them a valuable platform to learn about Sitecore Discover APIs and test integrations. This empowers developers to explore the capabilities of Sitecore Discover, understand its technical aspects, and ensure smooth integration with other systems and applications.

The Product Data Feed
Sitecore Discover requires catalog attributes to provide its platform-wide functionality, therefore you need to prepare and transfer your catalog datasets.
In addition to product and category data feeds you may also transfer:
- Cross-category feed: Enables cross-category recommendations.
- Sales feed: Initiates an initial warm-up of online and optional offline product sales.
- Fitment feed: Required for sellers of parts and accessories to offer search and recommendation experiences based on compatibility with third-party products.
To prepare your catalog dataset, you must map your product attributes to relevant Discover attributes, create a delimited text file with the product data, and another file defining categories. These data feed files are transferred to the Discover SFTP service.
A fitment feed contains attributes representing parts or accessories for third-party products that you don't sell but have compatibility with. It enables customers to search for products based on compatibility attributes.
Uploading historical sales data during implementation allows Discover to gain insights into product performance and rankings. Recurring feeds of offline sales can also be set up. Discover analyzes sales data to identify bestselling products, co-bought patterns, and more.
SFTP is used to transfer product, category, and sales feeds. Discover's SFTP service checks for new data files every 15 minutes. After the initial feed, it's important to keep Discover up-to-date by sending new product information using the full product feed or using the Incremental Feed API for updates.
Setting up automated data feeds is recommended, with a minimum frequency of once a day. The optimal interval depends on business requirements and dataset size, determined with the help of the Sitecore Discover integration specialist.
Recurring data feed status can be monitored in the Customer Engagement Console.
Note: The Incremental Feed API cannot be used to add new products to the Discover catalog; the full product data feed process must be used for that purpose.
Discover Integration Methods
Sitecore Discover offers a couple of integration methods for incorporating personalized experiences into websites or other channels, (note: at the time of this writing two out of four methods got recently deprecated).
The choice of the integration method depends on factors such as control over front-end design and development resource constraints. Two recommended methods are the Discover JS SDKDiscover JS SDK for React for React and the Discover API integration methods.
Discover JS SDK for React
The Discover JS SDK integration for React provides front-end developers with an easy way to integrate React applications with Discover. By using the Discover UI Components package, developers can quickly build customizable user interfaces with widget templates and UI components. This method offers control over user-experience design, handles visitor tracking and events, and requires minimal development work. Resources such as working examples, starter kits, and reference documentation are available to aid implementation.
Discover API
The Discover API integration allows for full integration of search and recommendation, and page experiences with websites, mobile apps, or back-end systems. It provides complete control over the user experience design and requires more effort and development work to set up. The Customer Engagement Console (CEC) offers tools for developers to test and work with the APIs.
Deprecated Methods
Deprecated integration methods include using hosted pages with Discover and the Discover runtime JavaScript integration. Hosted pages allowed for the creation of new pages directly through the CEC but lacked control over the user experience design. Discover runtime JavaScript integration loaded pre-built JavaScript-based widgets onto pages but offered no control over the user experience design.
Integration Method | Pros | Cons |
|---|---|---|
Discover JS React SDK | Provides a simple integration approach for React applications | Limited control over onsite experiences |
| Minimal development work | Limited to React-based projects |
| Offers customizable widget templates and UI components | May not provide as much flexibility for complex customizations compared to direct API integration. |
| Handles visitor tracking and events | Relies on the availability and maintenance of the Discover JS SDK for React |
| Designed specifically for React, ensuring seamless integration |
|
| Requires minimal development work, allowing for rapid application development |
|
Discover API | Integrates with all digital touchpoints | Requires more effort and development work |
| Provides full control over user-experience design | Testing and learning API requires CEC and development effort |
| Provides flexibility for customizations and integration with back-end systems | May have a steeper learning curve for developers unfamiliar with the Discover API |
| Allows fine-grained control over the user experience design | Involves additional setup and configuration steps |
| Can be integrated with any frontend framework or platform | Integration experience may not be as streamlined as SDK-based approaches |
Other Integration Methods (Hybrid Integration Approach)
So far, we have examined the approaches presented and documented by Sitecore. However, in this article, I would like to introduce what I refer to as a "hybrid" approach. This approach involves utilizing the core NPM packages offered for the React SDK, which enables us to transcend the abstraction layer and work with a JavaScript-based library. As a result, we can leverage the benefits of implementing Discover in applications built on other JavaScript frameworks such as Vue.js, Angular, and more.
In the upcoming sections, we will delve deeper into this hybrid approach while exploring the integration of the product. I will provide detailed insights and guidance on how to implement Discover effectively in diverse JavaScript frameworks beyond React.
The NPM packages
Visitors Tracking
To enable automated personalization, Sitecore Discover utilizes visitor tracking. It is crucial to assign an anonymous ID to each visitor on your website. You can either create your own anonymous ID or use the UUID provided by Discover. This anonymous ID is used to monitor user behavior throughout your site.
Visitor tracking gathers vital information for various Discover functionalities, including personalization, targeted rules, dataset generation, and analytics. By tracking visitor information, Discover empowers you to enhance user experiences and make data-driven decisions.
Enabling Visitors Tracking
To make it simpler and also a bit more dynamic, I've decided to go through the different options, depending on the front-end framework we are using while demoing it. In the following video, I'm covering these options for enabling Discover Tracking:
- Using the Discover Beacon JavaScript (demo in a Vue.js app)
- Using the React SDK (demo in a Next.js app)
- Using the Core Packages (demo in a Vue.js app)
Invalid YouTube URL: https://www.youtube.com/watch?v=Ra1yC09jqb4\u0026amp;t=58s
In the previous video, I've shown different integration methods, for enabling tracking by generating the UUID and also to authenticate against Sitecore Discover.
Authentication and Authorization
If we have a subdomain, there is no need for authorization or authentication. We can make API calls to the subdomain host URL, which will have the format .rfk., as opposed to the non-subdomain host URL format of api.rfksrv.com. Utilizing the subdomain host URL is sufficient for authentication and authorization purposes.
In the absence of a subdomain, it is essential to authenticate and authorize yourself before gaining access to Discover REST APIs. Let's explore the different options depending on the integration method.
Option 1: React SDK Integration
In the video, it was explained that the SDK takes care of authentication and authorization. In our React app, we simply need to utilize the WidgetProvider. Below is an example code for a Next.js app that was demonstrated in the video.
In our _app.tsx file:
1import '@/styles/globals.css'2import type { AppProps } from 'next/app'3import { WidgetsProvider } from '@sitecore-discover/react';45export default function App({ Component, pageProps }: AppProps) {6 return (7 <WidgetsProvider8 env={process.env.NEXT_PUBLIC_APP_ENV}9 customerKey={process.env.NEXT_PUBLIC_APP_CUSTOMER_KEY}10 apiKey={process.env.NEXT_PUBLIC_APP_API_KEY}11 useToken12 >13 <Component {...pageProps} />14 </WidgetsProvider>15 );16}
Option 2: API Integration
As outlined in the previous table, this integration method demands greater development effort as it necessitates the complete implementation of functionality to effectively utilize the provided APIs.
The authentication and authorization process for the Discover API follows these steps:
- Obtain an API key with the necessary scopes, typically a one-time task.
- If needed, generate an access token and a refresh token. This step must be repeated whenever a token expires.
- Include the API key or access token in the request headers for every request you make. This is a requirement for each request.
In this approach, we have two different options, the API key or the access + refresh tokens.
API Key
- A unique and secure 52-character code provided by Sitecore.
- Obtained from your Sitecore account manager upon registration.
- Sample API key: 01-90c83624-12f708fa77a1e96a25c4a2afd0f28a4c23ff5252.
- Cannot be generated independently; Sitecore generates it for you.
- Should be used only in secure environments like servers to prevent security issues.
- Used to generate an access token and added to request headers to access the Discover API.
- Has assigned scopes determining which REST APIs can be accessed.
Access Token and Refresh Token
- Access token: A temporary code for authenticating an API request.
- Refresh token: A temporary code for obtaining a new access token.
- Used when making calls from non-secure clients (e.g., browsers) instead of sending the API key.
- Obtained by calling the Discover authentication endpoint using the API key.
- Access token expires, refresh token is used to get a new access token.
- Refresh token expires, API key is used to obtain a new access token.
- Tokens have limited validity, default is 1 day for access token and 1 week for refresh token.
- Tokens inherit scopes from the API key, allowing access to corresponding APIs.
- Scopes determine the APIs that can be called, mismatching scopes result in errors.
Note: It is recommended to handle tokens securely and modify validity as needed, within certain limits.
API Key Scopes
search-rec- this scope authorizes you to use the Discover search and recommendation APIevent- this scope authorizes you to call the Discover events APIfeed- this scope, along withservices, authorizes you to call the Discover incremental feed APIservices- this scope, along withfeed, authorizes you to call the Discover incremental feed API
API | Subdomain URL | Non-subdomain URL | Methods supported |
|---|---|---|---|
Authentication | n/a |
|
|
Option 3: Hybrid Integration
As shown in the video, the option I'd recommend for integrating Discover with our website when we are not using a React framework but any other JavaScript framework like Vue.js , is to benefit from the Discover NPM packages so then, we simplify the development and improve the reliability.
Here is an example of integrating Discover with a Vue.js website, as shown in the video:
1import Vue from 'vue'2import App from './App.vue'3import { setup } from '@sitecore-discover/data'4import { init } from '@sitecore-discover/core'56Vue.config.productionTip = false78new Vue({9 created() {10 this.initializeSitecoreDiscover();11 },12 methods: {13 initializeSitecoreDiscover() {14 const setupOptions = {15 env: process.env.VUE_APP_ENV,16 publicSuffix: false,17 apiKey: process.env.VUE_APP_API_KEY,18 customerKey: process.env.VUE_APP_CUSTOMER_KEY,19 useToken: true20 }21 setup(setupOptions);22 init();23 },24 },25 render: h => h(App),26}).$mount('#app')27
In previous steps, we set up the necessary environment variables containing the required keys. Subsequently, we invoke the setup() and init() functions from the data and core packages. This process ensures authentication and authorization against Discover, enabling us to initiate API calls.
Note: As emphasized in the video, following this approach is sufficient for generating the UUID. Therefore, there is no need to use the bacon JavaScript for this purpose.
Events
Events play a crucial role in the operations of Sitecore Discover. By tracking widget and funnel events, Discover is able to create personalized product recommendations for its users. Event tracking is also vital for generating important site metrics such as views, visits, revenue, conversions, and more.
Event Specifications
- Funnel events - Generated when a user adds an item to their cart or wishlist, completes an order, and so on.
- Preview search widget events - Generated when a user sees or interacts with a preview search widget.
- Recommendation widget events - Generated when a user sees or interacts with a recommendation widget.
- Full-page search widget events - Generated when a user sees or interacts with a full-page search widget.
- Generic widget events - Generated when a user sees or interacts with any widget, including HTML content blocks.
Option 1: React SDK Integration
When working with the React SDK, we get already-defined interfaces to track events.
Events dispatched by JS SDK
The following table lists events that the JS SDK for React dispatches on its own:
Event interface | Event type |
|---|---|
trackAppearEvent | Global event |
trackSearchResultsClickEvent | Search results widget event |
trackSearchResultsFacetClickEvent | Search results widget event |
trackRecommendationClick | Recommendation widget |
trackPreviewSearchClick | Preview search widget |
trackPageViewEvent | Global event |
Events to be dispatched using callbacks
The following table lists events that you need to dispatch using callbacks.
Event interface | Event type |
|---|---|
trackAddToCartEvent | Funnel event |
trackOrderConfirmEvent | Funnel event |
trackPDPViewEvent | Funnel event |
trackStatusCartEvent | Funnel event |
trackUserLoginEvent | Global event |
In the following video, I'll show you how to get started tracking events in our Next.js demo site by using the React SDK
Invalid YouTube URL: https://youtu.be/WKmTX1Jj5ZE
Option 2: API Integration
When integrating with Sitecore Discover using REST APIs, it is necessary to utilize the Events API for event tracking and transmission to Discover. In this integration approach, the event object remains the same as the one used in runtime JS integration, with the exception of a few additional mandatory keys.
The table below outlines the additional keys that are required in the event object when making calls to the Events API, regardless of whether you use the Discover beacon:
Key | Type | Description |
|---|---|---|
| string | Required.Anonymous user identifier.NoteIf beacon is present, use |
| number | Required.Client (browser) epoch time, in milliseconds. |
| number | Required.Page load epoch time (when page was loaded), in milliseconds. |
| Required.The user's location information. Located in the event object. | |
| Required.The user's browser information. Located in the event object. |
As already mentioned, this approach is the most time-consuming as it requires us to develop the whole implementation, so again, if you are implementing Discover in a website I would recommend following the hybrid integration approach.
CEC – Event Builder
When implementing the API integration approach, it is crucial to utilize the Developer Resources available in the Customer Engagement Console. For handling events, the Event Builder can be immensely helpful in constructing, testing, and experimenting with your queries during the development and implementation phases.

Option 3: Hybrid Integration
By adopting this approach, we may not benefit from the automatic dispatching of all events by the SDK as we do when implementing the React SDK. However, we gain the ability to leverage the inherent functionality offered by the NPM core packages.
In the upcoming video, I will demonstrate the process of implementing events within our Vue.js demo app.
Invalid YouTube URL: https://youtu.be/i48Ee7jmM1s
Events Tracking
As demonstrated in the video, we have the ability to leverage the event methods from the data package, as well as the PageController, in order to effectively gather the context.
1import { trackAddToCartEvent, trackPDPViewEvent } from '@sitecore-discover/data';2import { PageController } from '@sitecore-discover/core';34mounted() {5 trackPDPViewEvent('myproduct-sku', null, PageController.getContext().toJson())6 },7 methods: {8 trackEvent() {9 trackAddToCartEvent([10 {11 sku: 'myprodid-001',12 quantity: 1,13 price: 10,14 priceOriginal: 12,15 },16 ],17 "pdp",18 PageController.getContext().toJson());19 },20}21
Tip: For a more comprehensive understanding of event implementation, we recommend exploring the Data and Core packages, along with the React SDK starter kit, which can be found on GitHub. These resources will provide valuable insights into effectively incorporating events into your project.
Conclusion
In this first chapter, the primary objective was to provide a comprehensive overview of the initial steps required to start developing with Sitecore Discover. Alongside, illustrative examples were presented to assist you in identifying the most suitable implementation method, contingent upon the specific platform you are using for the integration of Sitecore Discover.
Furthermore, this chapter aimed to introduce supplementary integration alternatives that bridge the gap between the React SDK and API approaches, allowing you to leverage the advantages offered by both, thereby streamlining the implementation process.
Stay tuned for the next part of this series, wherein the focus will be directed toward the Search and Recommendation feature, Widgets, Search Preview, and much more!